12-Shell
0200. 安装Zsh、配置oh-my-zsh
首先查看一下当前安装的shell环境:
$ cat /etc/shells
# Pathnames of valid login shells.
# See shells(5) for details.

/bin/sh
/bin/bash
/usr/bin/git-shell
/usr/bin/fish
/bin/fish
/bin/zsh
/usr/bin/zsh

# another instruction
$ chsh -l # 同样查看所安装的shell
$ chsh -s /usr/bin/zsh # 切换账户默认的shell
如果没有Zsh,则安装之,
sudo pacman -S zsh zsh-autosuggestions zsh-syntax-highlighting zsh-completions autojump为方便配置Zsh及管理其插件,可以使用Github上的开源项目 oh-my-zsh,虽然它在一定程度上可能会拖慢Zsh的运行速度,不过更加 noob friendly :
sh -c "$(curl -fsSL https://raw.github.com/ohmyzsh/ohmyzsh/master/tools/install.sh)"在这个安装脚本运行中,会自动将当前系统的默认shell环境更换为Zsh,如果需要同时对Root用户进行更换,则可以使用:
$ sudo chsh -s /usr/bin/zsh root接下来就可以对 ohmyzsh 进行配置了
(i) 修改主题
前往ohmyzsh的官方wiki页面查看想要的主题预览,记下名字即可,之后在~/.zshrc中找到ZSH_THEME="robbyrussell"一行进行编辑:
ZSH_THEME="robbyrussell"如果将上述值设置为random,则会每次打开命令行窗口,都使用随机一个主题,当然,如果不是什么心理变态,应该不会这么设置
若要查看当前已有的主题文件有哪些,可以使用ls ~/.oh-my-zsh/themes查看命令行的输出:
> ls .oh-my-zsh/themes
3den.zsh-theme             kennethreitz.zsh-theme
adben.zsh-theme            kiwi.zsh-theme
af-magic.zsh-theme         kolo.zsh-theme
afowler.zsh-theme          kphoen.zsh-theme
agnoster.zsh-theme         lambda.zsh-theme
alanpeabody.zsh-theme      linuxonly.zsh-theme
amuse.zsh-theme            lukerandall.zsh-theme
apple.zsh-theme            macovsky-ruby.zsh-theme
...这里我选择Powerlevel10k,因为网上教程就这么写的
-
首先clone一下安装文件:
# Github git clone --depth=1 https://github.com/romkatv/powerlevel10k.git ${ZSH_CUSTOM:-$HOME/.oh-my-zsh/custom}/themes/powerlevel10k # Gitee git clone --depth=1 https://gitee.com/romkatv/powerlevel10k.git ${ZSH_CUSTOM:-$HOME/.oh-my-zsh/custom}/themes/powerlevel10k -
然后在
~/.zshrc的主题行中修改为ZSH_THEME="powerlevel10k/powerlevel10k",之后重启终端就会进入配置页面,依序配置好自己喜欢的样式即可。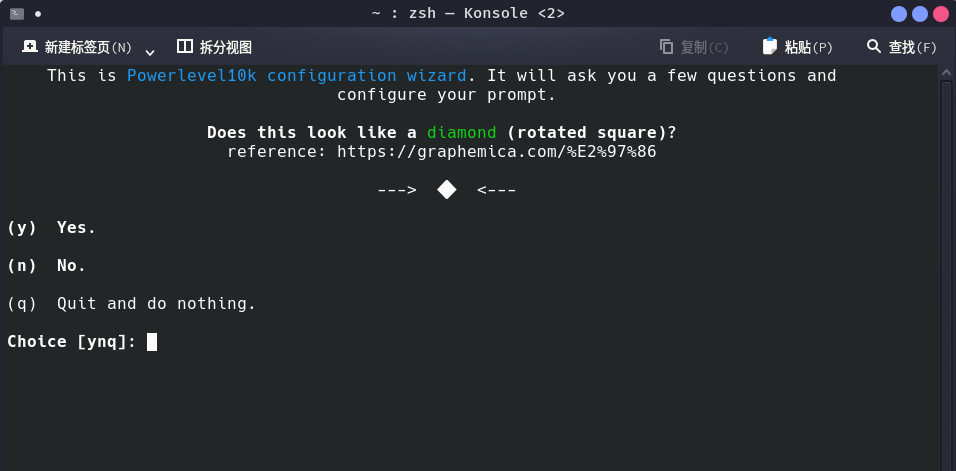
如果要使用其他社区插件,可以在External-themes中查找,只需要将其安装到~/.oh-my-zsh/custom/themes/目录下即可。
(ii) 添加插件
-
自动补全插件
zsh-autosuggestions,使用方向右键补齐git clone https://github.com/zsh-users/zsh-autosuggestions ${ZSH_CUSTOM:-~/.oh-my-zsh/custom}/plugins/zsh-autosuggestions -
语法高亮插件
zsh-syntax-highlightinggit clone https://github.com/zsh-users/zsh-syntax-highlighting.git ${ZSH_CUSTOM:-~/.oh-my-zsh/custom}/plugins/zsh-syntax-highlighting -
自动跳转历史目录
autojump,这个是ohmyzsh自带,添加进plugins即可# Which plugins would you like to load? # Standard plugins can be found in $ZSH/plugins/ # Custom plugins may be added to $ZSH_CUSTOM/plugins/ # Example format: plugins=(rails git textmate ruby lighthouse) # Add wisely, as too many plugins slow down shell startup. plugins=( git zsh-autosuggestions zsh-syntax-highlighting autojump )不过奇怪的是,明明可以在
.oh-my-zsh/plugins/目录下查找到autojump文件,但是直接添加却会提示需要安装,可能是版本问题?不过解决办法很简单,只需要sudo pacman -S autojump即可。
- 注意:上述操作只是配置了当前用户的zsh,如需配置root用户或其他用户,需要切换到对应用户并将之前的配置文件复制一份过去。
0201 oh-my-zsh部分命令及使用
(i) 更新相关
oh-my-zsh会在每次上游更新时对用户发出更新提示,如果想让它自动更新而不提示,则在.zshrc中添加如下命令:
DISABLE_UPDATE_PROMPT=true如果不想让oh-my-zsh自动更新,则同样设置.zshrc:
DISABLE_AUTO_UPDATE=true若要手动对其进行更新,则使用命令omz update:
> omz update
Updating Oh My Zsh
         __                                     __
  ____  / /_     ____ ___  __  __   ____  _____/ /_
 / __ \/ __ \   / __ `__ \/ / / /  /_  / / ___/ __ \
/ /_/ / / / /  / / / / / / /_/ /    / /_(__  ) / / /
\____/_/ /_/  /_/ /_/ /_/\__, /    /___/____/_/ /_/
                        /____/

Oh My Zsh is already at the latest version.

To keep up with the latest news and updates, follow us on Twitter: @ohmyzsh
Want to get involved in the community? Join our Discord: Discord server
Get your Oh My Zsh swag at: Planet Argon Shop
(ii) powerlevel10k主题的高级配置
-
字体库依赖 根据p10k的官方文档,其在有如下字体库时会有更好的支持:
Meslo Nerd Font、Source Code Pro、Font Awesome、Powerline,下面是部分安装方法:依赖
powerline/fonts字体库,安装方式如下:# clone git clone https://github.com/powerline/fonts.git --depth=1 # install cd fonts ./install.sh # clean-up a bit cd .. rm -rf fonts执行
install.sh脚本时的输出为:Copying fonts... xargs: warning: options --max-args and --replace/-I/-i are mutually exclusive, ignoring previous --max-args value Resetting font cache, this may take a moment... Powerline fonts installed to /home/lsjarch/.local/share/fontsMeslo Nerd Font字体库的安装yay -S ttf-meslo-nerd-font-powerlevel10kFont Awesome图标库的安装yay -S ttf-font-awesome
(经测试,安装jetbrainsmono nerd font即可使用)
-
手动配置提示符(在~/.p10k.zsh中)
左边区域的配置:
  # The list of segments shown on the left. Fill it with the most important segments.
  typeset -g POWERLEVEL9K_LEFT_PROMPT_ELEMENTS=(
    os_icon                 # os identifier
    dir                     # current directory
    vcs                     # git status
    # prompt_char           # prompt symbol
  )
右边区域的配置:
# The list of segments shown on the right. Fill it with less important segments. # Right prompt on the last prompt line (where you are typing your commands) gets # automatically hidden when the input line reaches it. Right prompt above the # last prompt line gets hidden if it would overlap with left prompt. typeset -g POWERLEVEL9K_RIGHT_PROMPT_ELEMENTS=( status # exit code of the last command command_execution_time # duration of the last command background_jobs # presence of background jobs direnv # direnv status (https://direnv.net/) ...对这些字段可以进行自定义配置以显示想要的效果,具体可以参考这篇博客——p10k主题的自定义配置。
-
长路径折叠
修改
POWERLEVEL9K_SHORTEN_DIR_LENGTH, Powerlevel10k 默认将长路径折叠到只显示最上层和最底层,多少有些不方便,可以更改如下,推荐 2 或者 3。
0202. 使用Zim对Zsh进行插件管理和美化
参考博客:
Zim较ohmyzsh有更加快捷的启动速度